Watch the tutorial video:
Step-by-step instructions:
To create an event, click the "+" in the top right corner and select "Event".


To upload a cover photo for your event, click "Add a photo" at the top of the page select a photo from your computer.

Next, enter a name for your event. Add a start date. Add details like start and end time, location information, and a description of the event.


Decide if your event will be public or private. By default, events are private. To make the event public, toggle to on and click "Yes, make it public".


When you've entered all the details, click "Create". You've published your event!
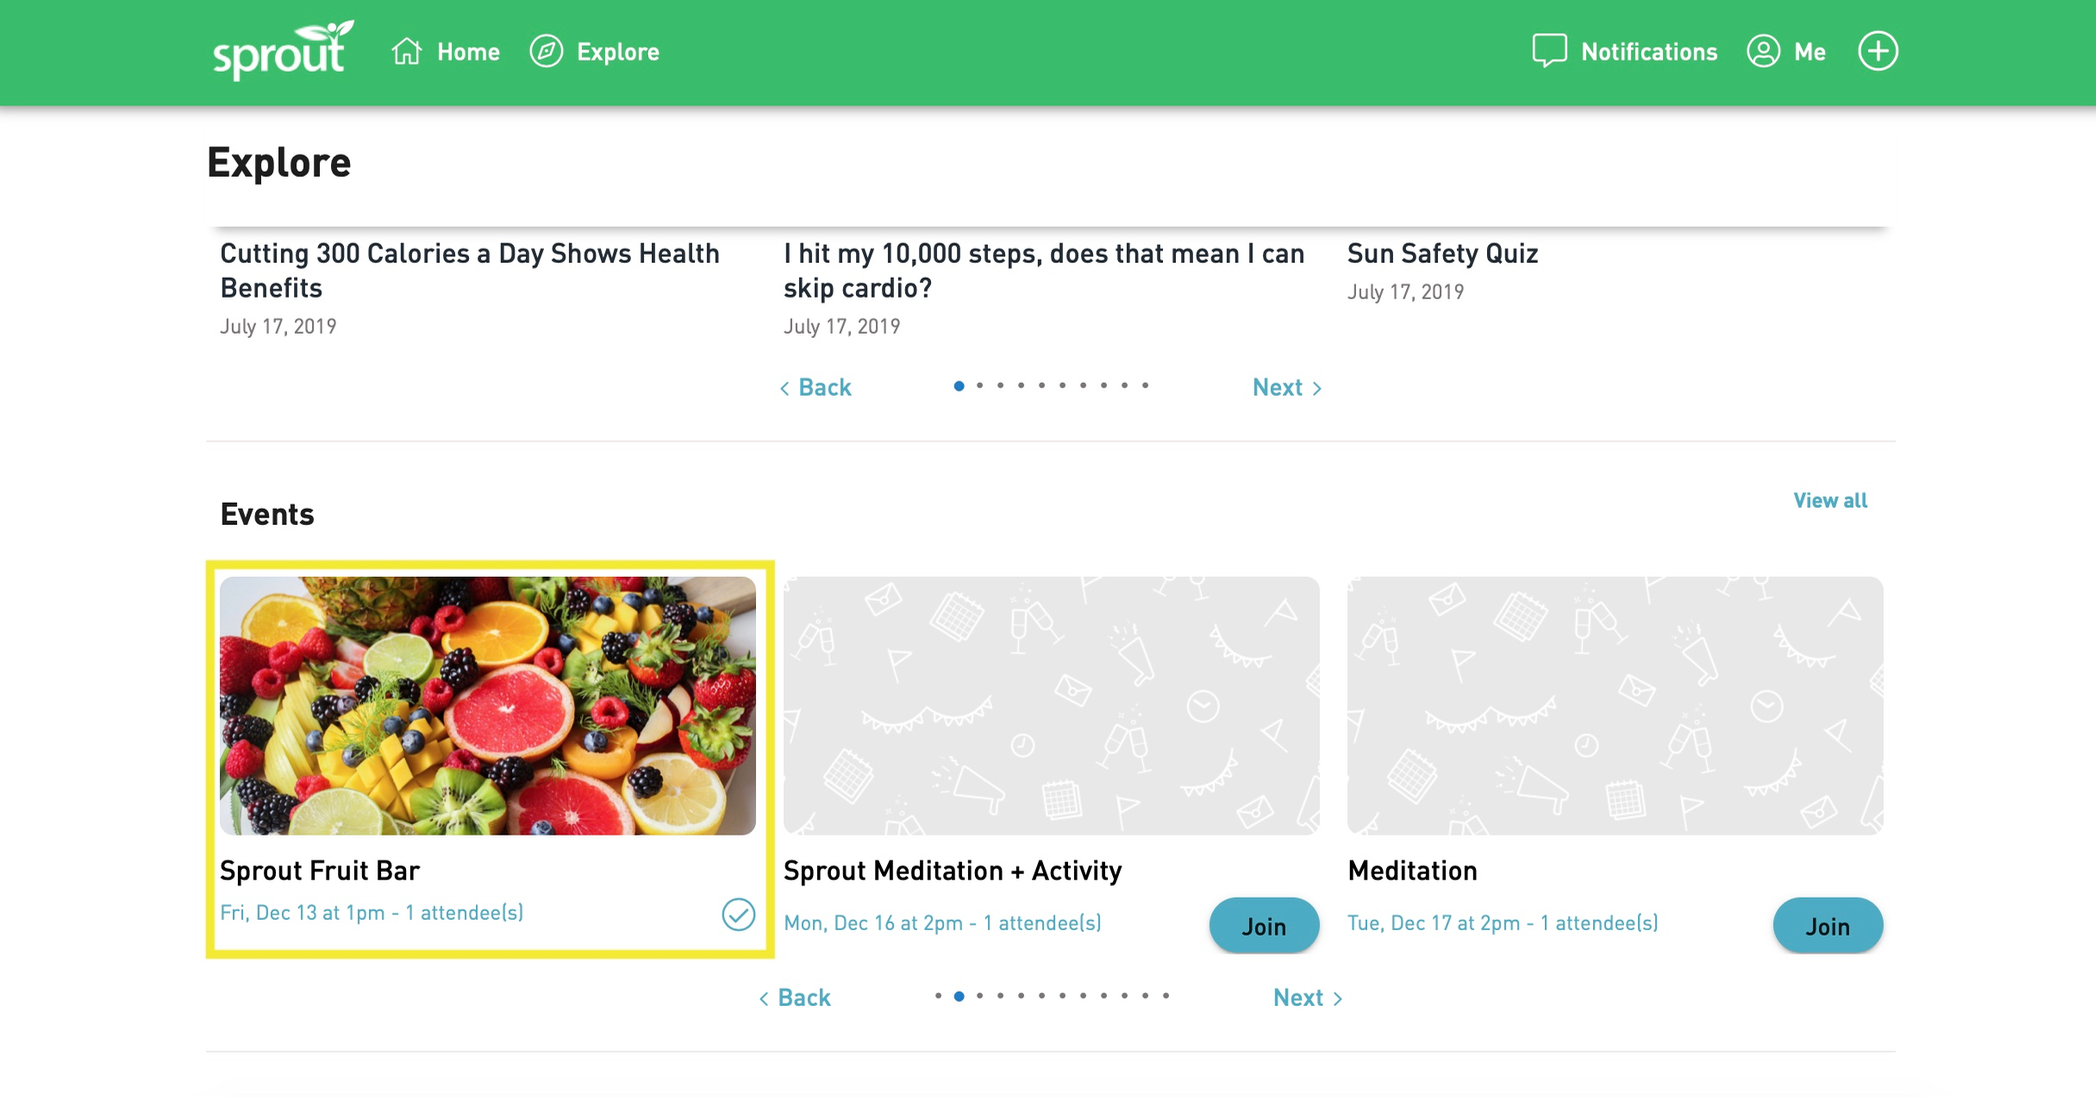
To view your events, click the "Explore" tab and scroll down to the "Events" section.

Inviting Guests to Your Event
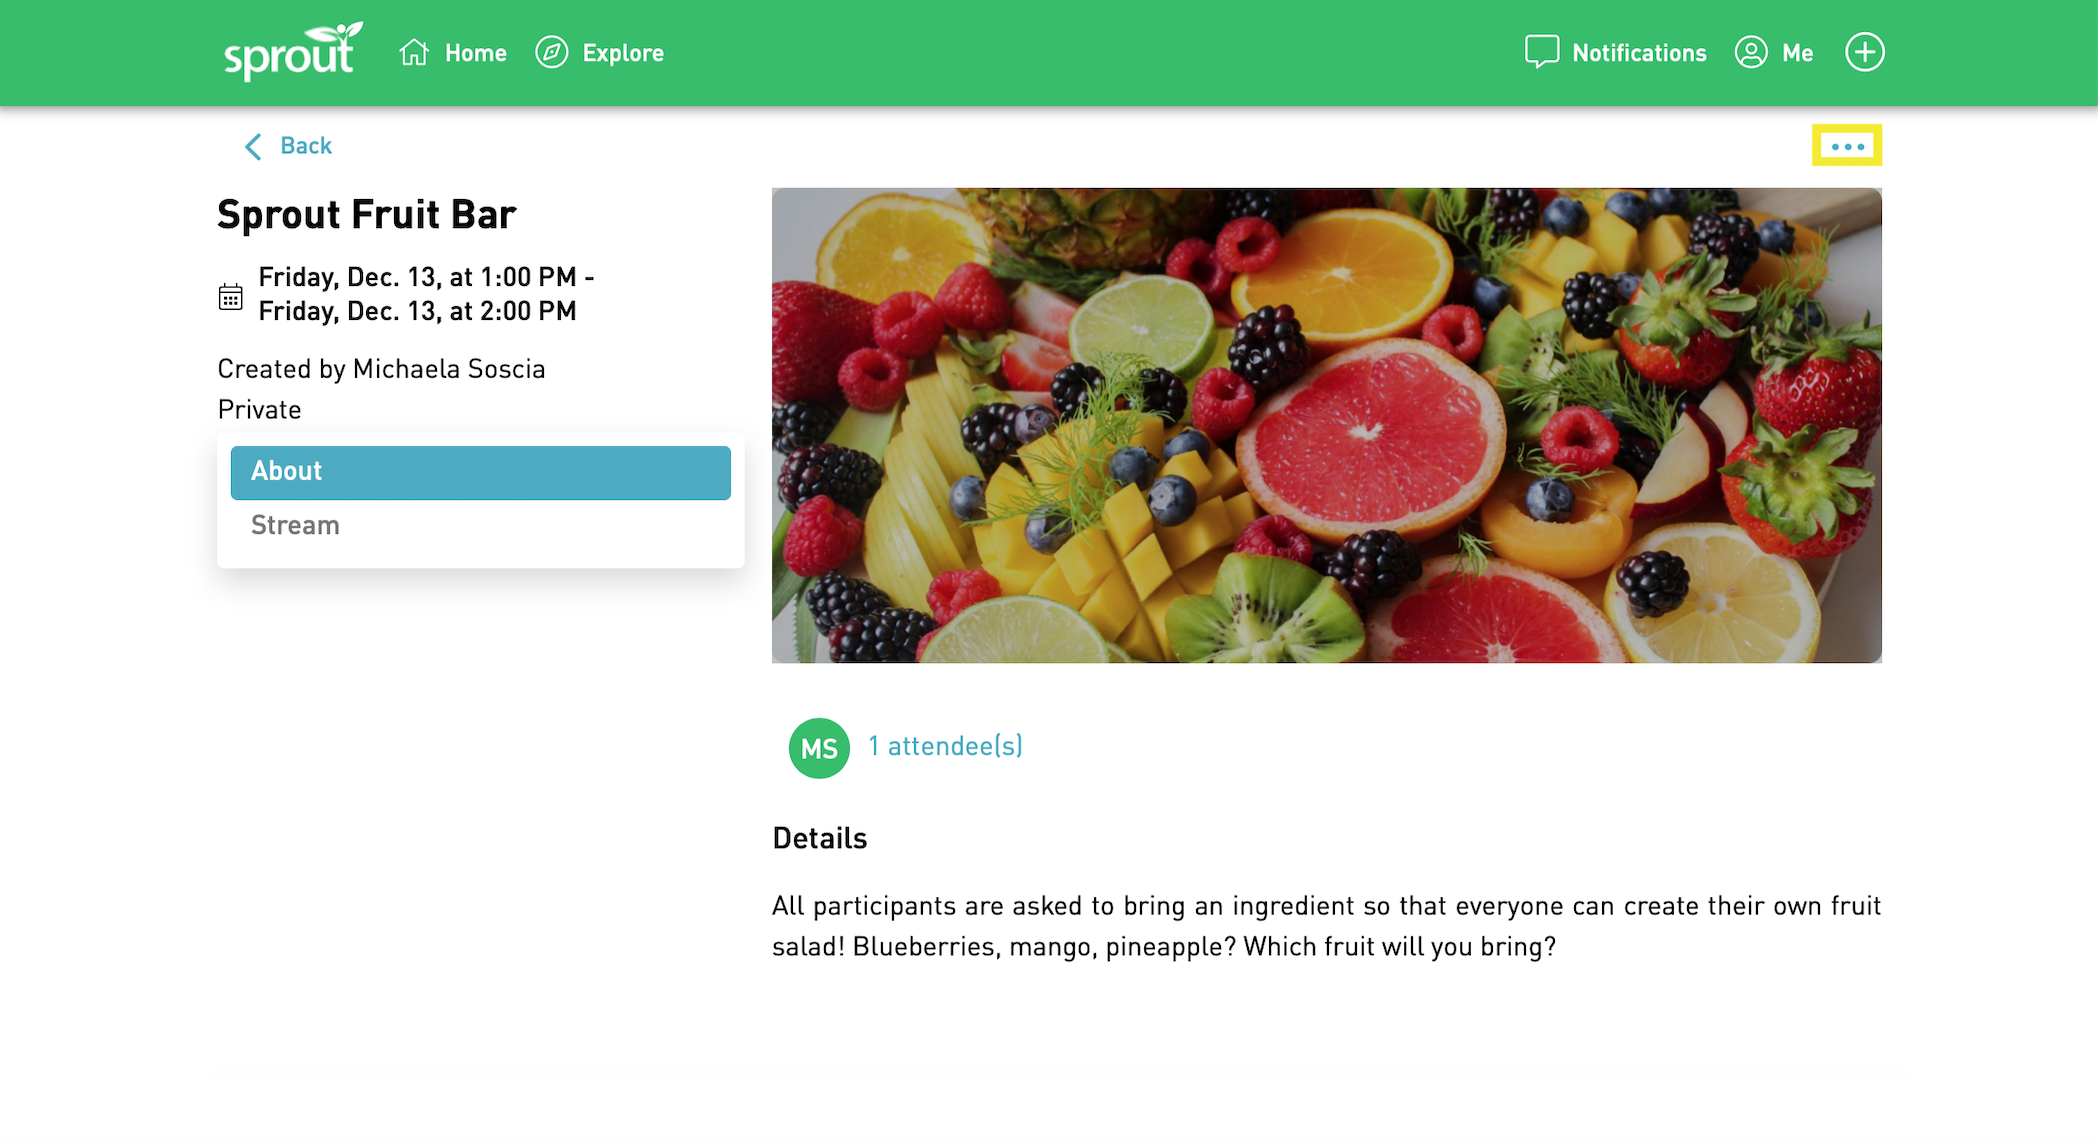
To invite guests to your event, click on the event to go to the event page. Click the three dots in the top right and select "Invite to event".


Browse or search for people to invite and then click the "+" sign next to their name to add them to the invitee list. When you're done inviting everyone, click "Send".


Comments
0 comments
Please sign in to leave a comment.